
November 18, 2019
I made the board featured in the photo above. It was under $20 for the board and sealing supplies. It was so simple! To re-create a similar board for your table will need the following supplies.
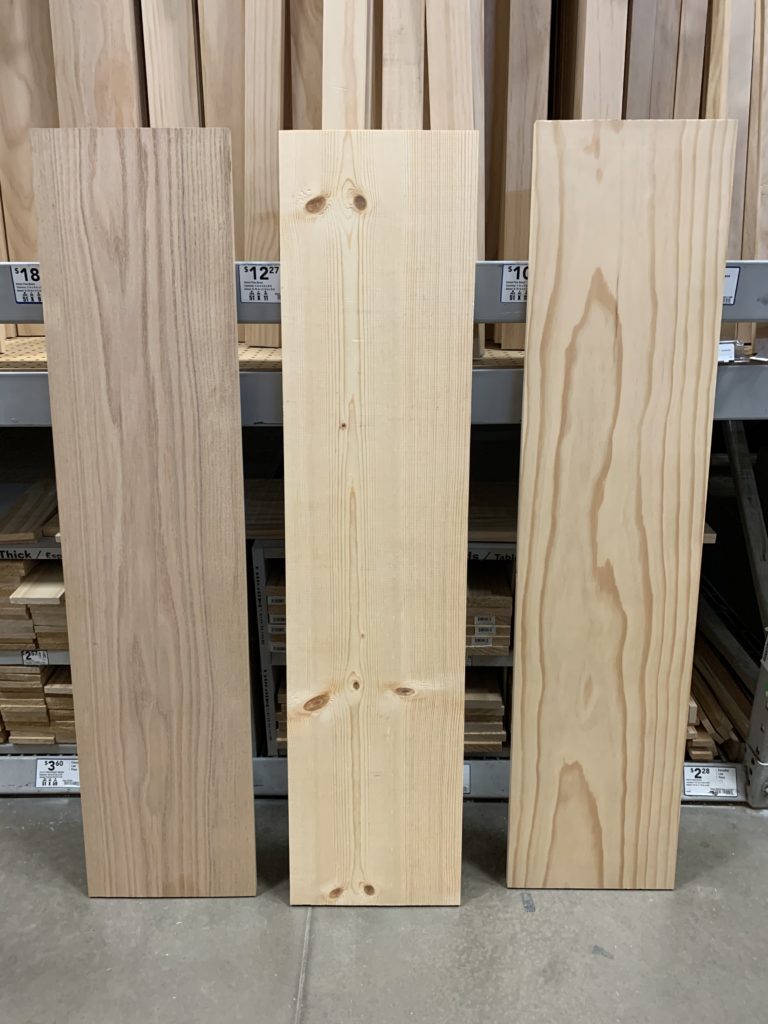
The boards from the un-treated section in Lowes are pre-sanded and come in so many shapes and sizes. I sanded mine with my Mouse Sander a bit more on the edges to just ensure it was smooth and easy to pick up and move around. After sanding, I washed the board thoroughly with a little bit of Dawn soap and warm water. Next, I dried it with a towel and then left it to dry further.
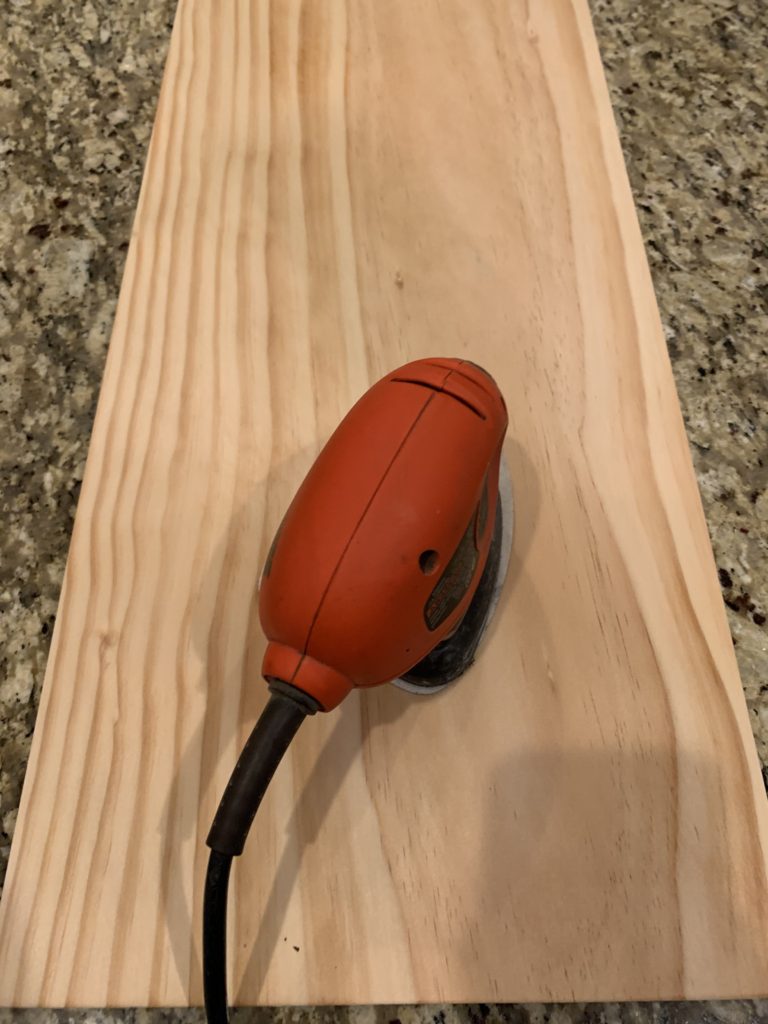
Once I knew the board was completely dry, I sealed it.
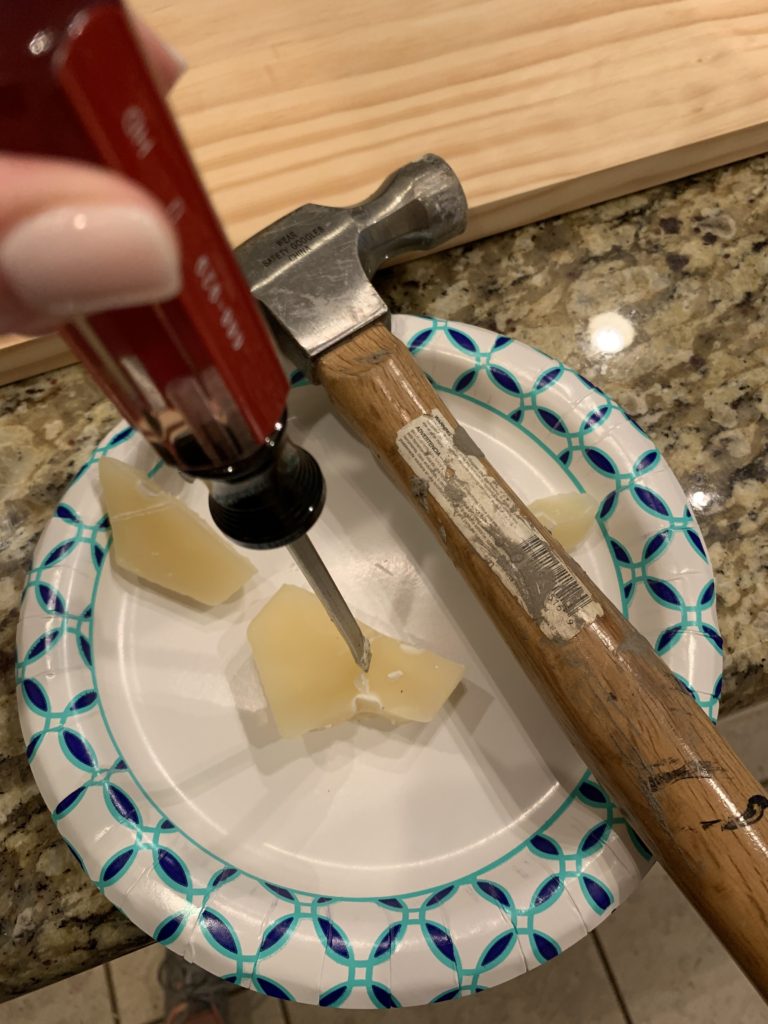
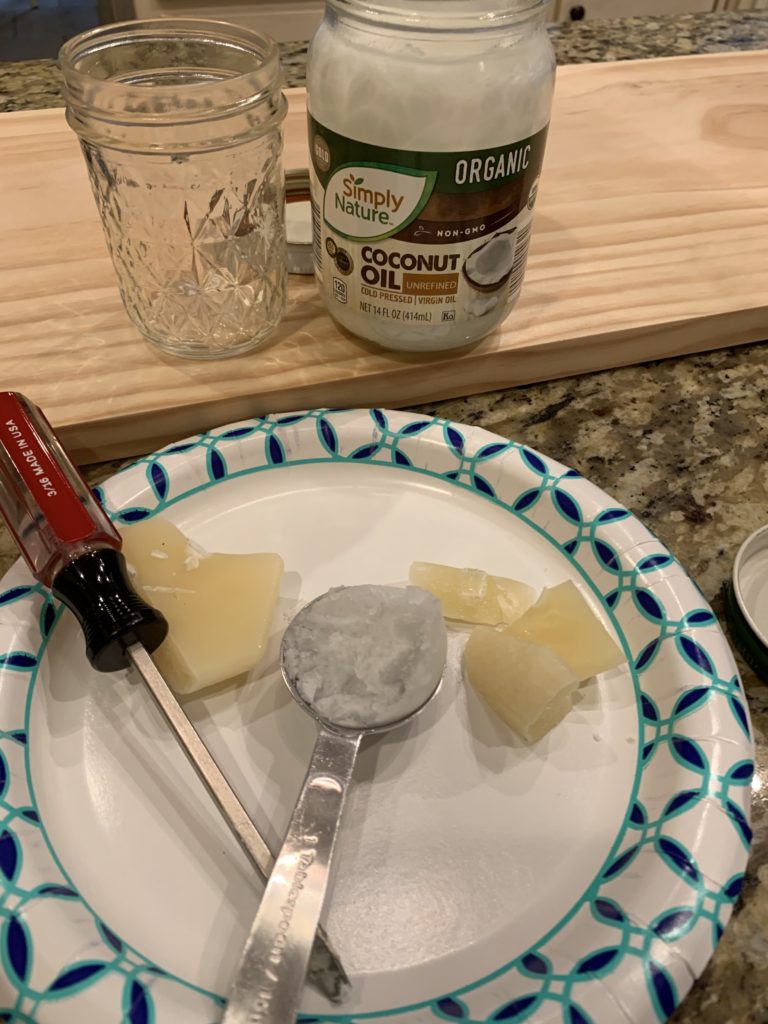
To create the sealing solution, first break the beeswax into smaller pieces. I used a screwdriver and hammer and it worked well. You do not want to ruin a good knife for this project.
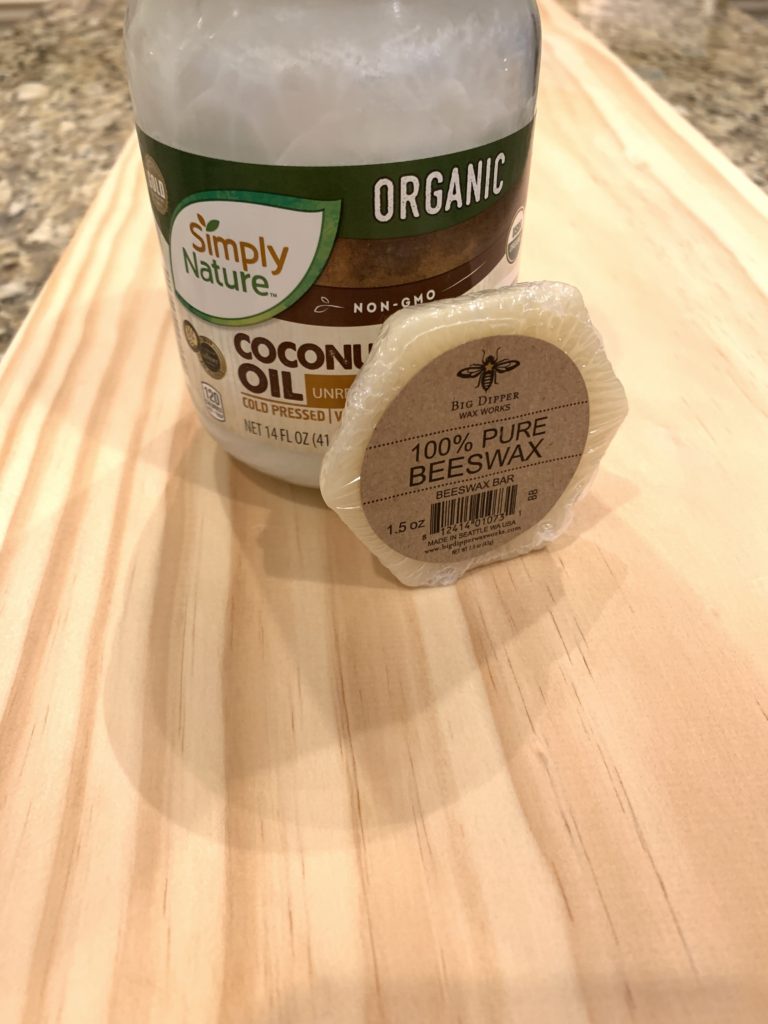
You will melt 1 part beeswax to 3 parts coconut oil. I melted them in a glass jar in the microwave 30 seconds at a time stirring in between with a plastic spoon (so I could just toss it afterwards. Cleaning a wax mixture off utensils can be tedious work!) until it was completely melted. You can save any extra in the jar and then just warm it in the microwave for future projects.
Working swiftly, I used a rag to rub the melted coconut oil/beeswax mixture all over the board. I did the top and bottom. You must work quickly or there will be little beards or drops of wax that will remain. No worries if that happens! If it is a warm day you can place the board outside for the oiled wax mixture to continue to melt into the board. In my case, it was a cold and rainy day so I plugged in my hairdryer and hovered over the spots that dried to quickly and buffed them into the board with the rag as it melted from the heat of the hair dryer. Worked like a charm!
Then, the board was ready to use! I was impressed with how easy it was to clean after using it with messy foods. The sealing really worked. There were no stains in the wood and a quick clean with warm soapy water and a towel dry had my board looking brand new!
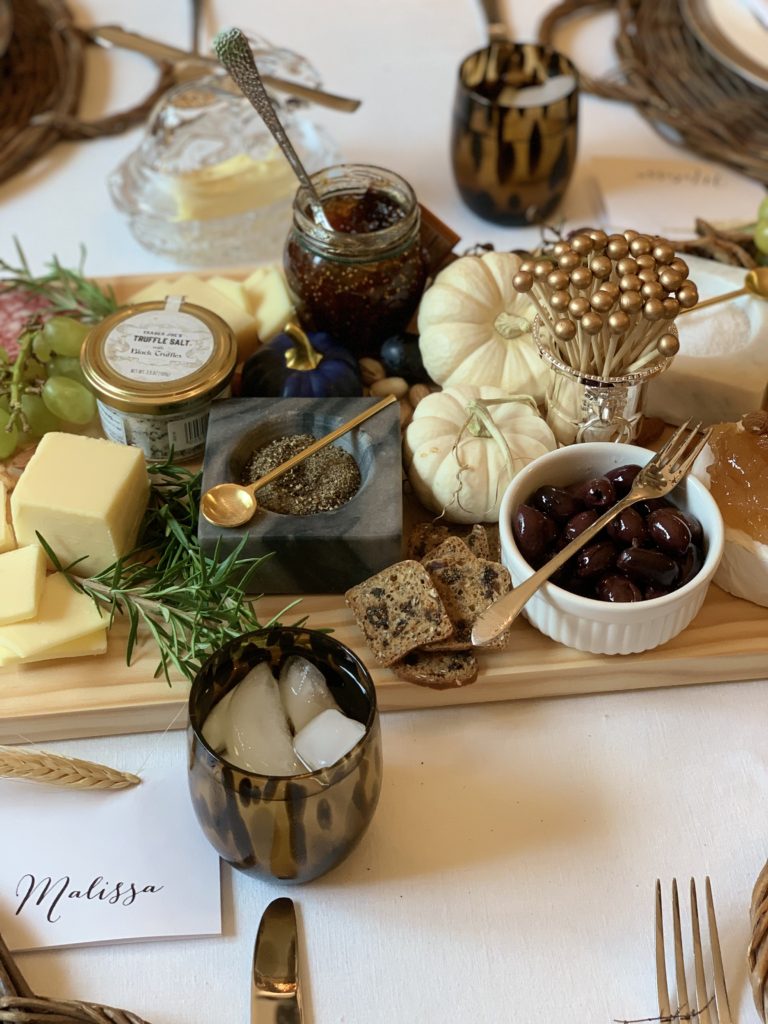
Need some food ideas to fill your board? Be sure to check out the Friendsgiving post and the Anatomy of a Cheese Board post. I hope you will make one of these boards and make lots of memories with friends and family sitting around it snacking on great food!
Meet the Hostess
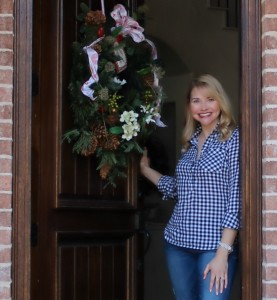
I'm a Southern girl who loves a good party, a house full of laughter, and a porch swing full of friends and family. I blog about how to host in a way that matters. Curious what I mean by that? CLICK HERE TO LEARN MORE AND READ MY STORY.
Recent Posts
Archives
Categories
Leave a Reply